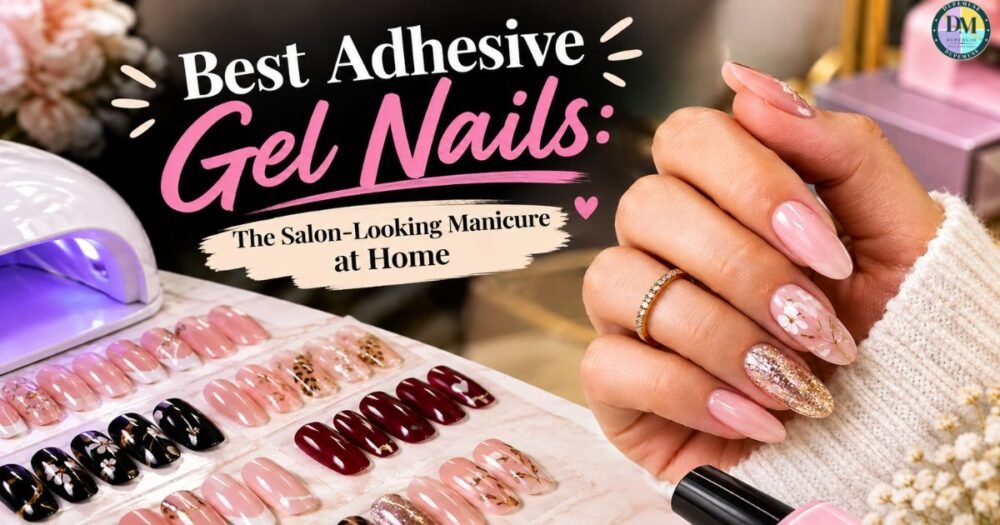
Want that fresh-from-the-salon manicure without spending $50–$100 every few weeks? Adhesive gel nails have become one of the easiest ways to get glossy, professional-looking nails at home.
But there is one problem: the term “adhesive gel nails” can mean several different things.
Some sets use sticky adhesive tabs. Some use traditional nail glue. Others use a UV/LED-cured gel adhesive that bonds soft-gel tips to your natural nails. The application, durability, removal and even safety considerations can be very different.
1. What Are Adhesive Gel Nails?
Adhesive gel nails are artificial nails or soft-gel tips designed to attach to your natural nails using an adhesive system. Depending on the product, that adhesive may be a pre-applied pressure-sensitive adhesive, nail glue, adhesive tabs, or UV/LED-curable gel adhesive.
That distinction matters because the application process and expected wear are completely different.
Adhesive gel nails vs. regular press-ons
A typical drugstore press-on can be made from ABS plastic and may use tabs or cyanoacrylate nail glue.
A soft-gel system uses flexible gel tips and a compatible gel adhesive that is cured under an LED/UV lamp. For example, Gelish says its Soft Gel Tips use an LED-curable adhesive and are designed for 21+ days of wear when applied according to the system instructions. GGelish+1
Meanwhile, consumer press-ons can be much faster and cheaper. For example, Olive & June currently sells glue-on press-ons around $10, while Glamnetic has many glue-on sets in roughly the $16–$22 range.
Why are adhesive gel nails so popular?
The appeal is simple:
- Salon-style appearance
- No sculpting acrylic powder
- Faster application
- Hundreds of colors, shapes and designs
- Available online and in U.S. stores
- Less expensive than repeated salon appointments
- Can be applied at home
- Some systems can last 1–3 weeks or longer
- Soft-gel systems can feel lighter and more flexible than traditional acrylic enhancements
The biggest secret to long wear isn’t simply “strong glue.” It is correct sizing + nail preparation + the correct adhesive + proper curing.
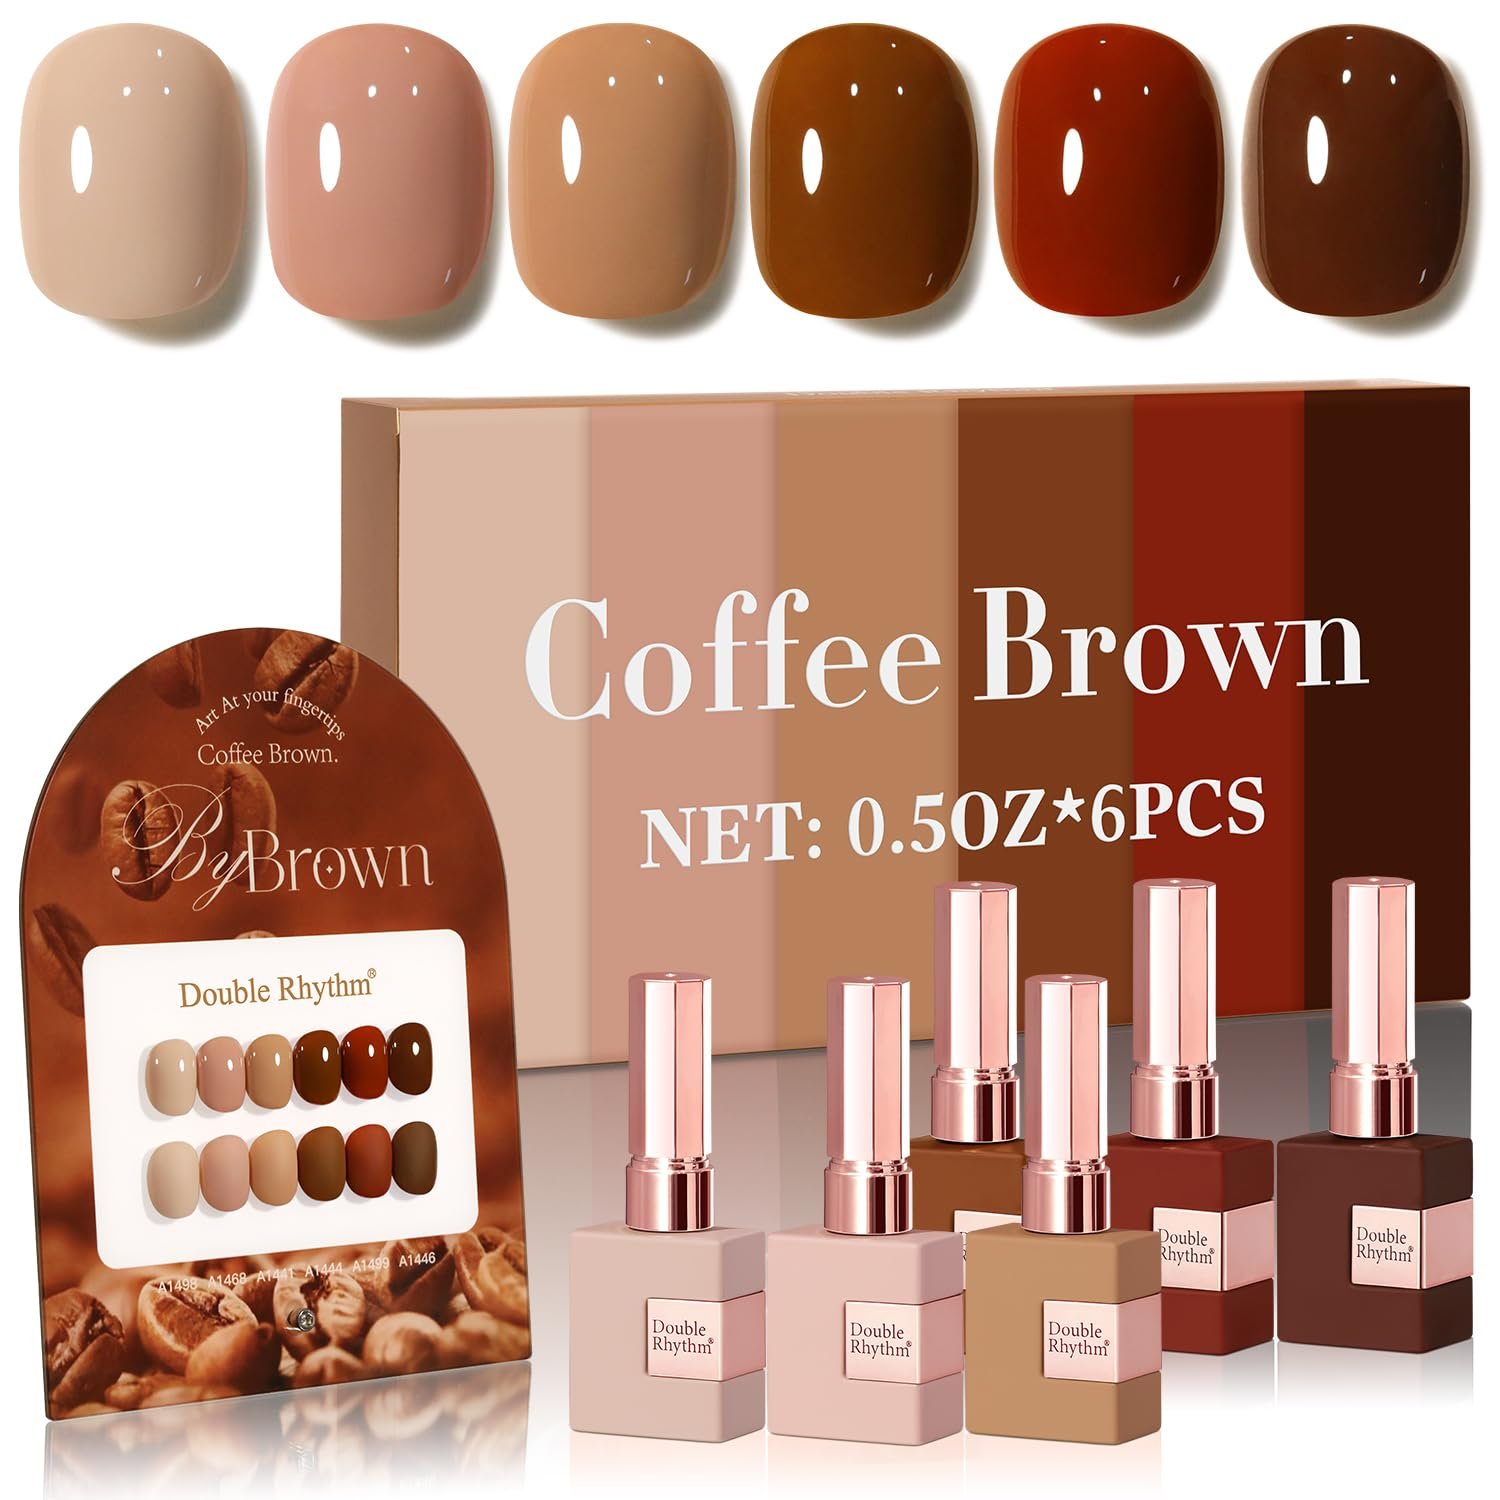
If you want complete nails application tools you can buy this pakage 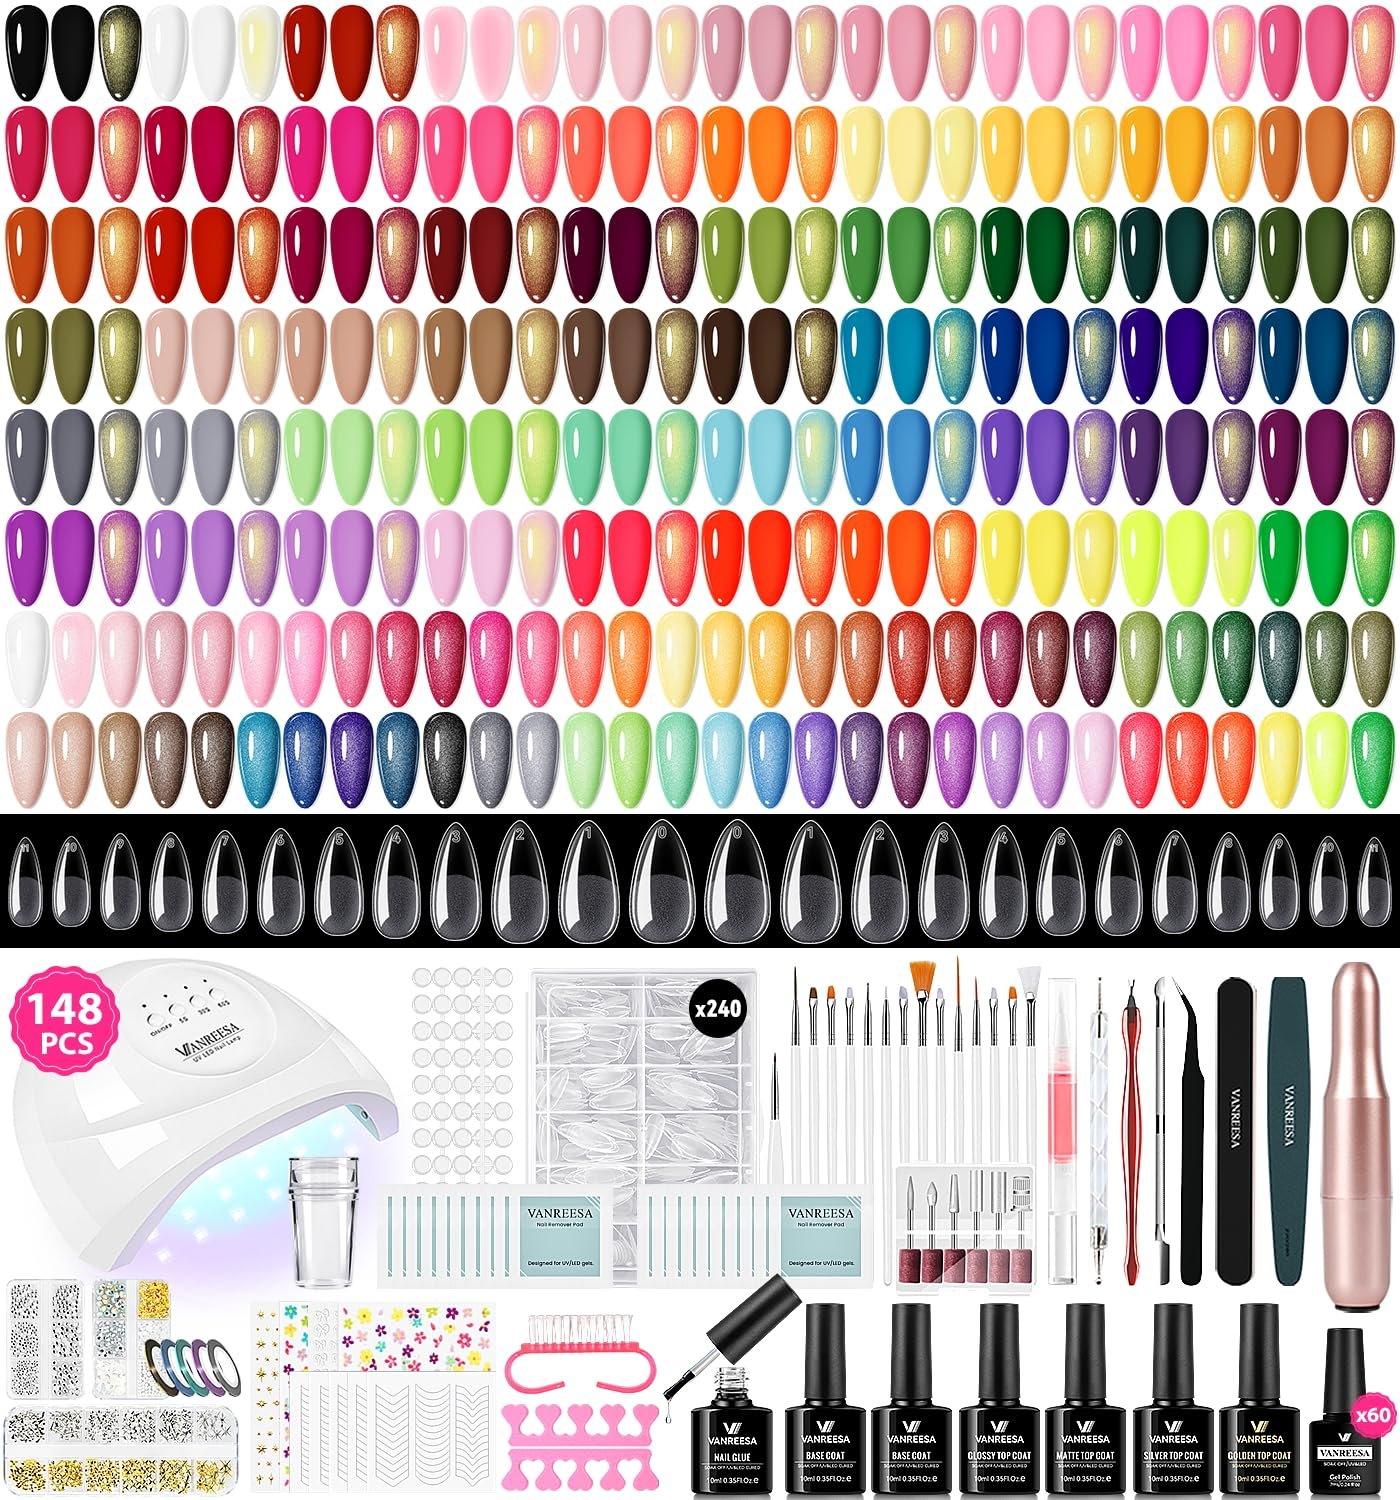 |
 |
Types of Adhesive Gel Nails & How They Compare With Acrylic and Gel
Before buying anything, decide which system actually fits your lifestyle.
1. Self-adhesive press-on nails
These come with adhesive already attached to the nail.
You simply:
- Prep your natural nail.
- Peel the backing.
- Position the nail.
- Press firmly.
KISS imPRESS is a well-known example. Its current no-glue system uses pre-applied adhesive and claims up to 10 days of wear on many sets. KKISS USA+1
Best for: vacations, events, beginners and quick manicures.
2. Adhesive-tab press-ons
These use separate sticky tabs rather than liquid glue.
They are generally the easiest option to remove and can be useful when you only want your manicure for a few days.
Olive & June, for example, offers tab press-ons with multiple sizes and a tab-based application system.
3. Glue-on gel press-ons
These are traditional press-on nails attached with nail glue.
They can provide a stronger hold than adhesive tabs, but they’re still different from a professional UV-cured soft-gel extension system.
4. Professional soft-gel tips
This is the category most closely associated with professional adhesive gel nails and Gel-X-style applications.
A soft-gel tip covers the natural nail and is attached with a specially formulated gel adhesive. The adhesive is then cured with a compatible LED/UV lamp.
Aprés Nail sells Extend Gel products specifically for its Gel-X system, while Gelish offers Soft Gel Tip systems designed for professional-looking enhancements.
Acrylic vs. gel vs. adhesive gel nails
| Feature | Acrylic | Gel Manicure | Adhesive/Soft Gel Tips |
|---|---|---|---|
| Main material | Acrylic polymer | Gel polish | Soft gel tip |
| Extension possible | Yes | Usually no | Yes |
| Lamp needed | No | Yes | Usually yes for gel adhesive |
| Application | More technical | Moderate | Beginner-friendly to professional |
| Feel | Hard/rigid | Flexible | Lightweight/flexible |
| Removal | File/soak depending system | Soak-off | Usually soak-off for professional systems |
| At-home friendly | Moderate | Yes | Yes, with correct system |
| Typical wear | 2–3+ weeks | 1–3 weeks | Around 2–3+ weeks depending on system |
If you want the fastest manicure, choose press-ons. If you want a professional extension system, look at soft-gel tips + compatible gel adhesive.
Best Adhesive Gel Nails: Brands, Prices & Where to Buy
There isn’t one “best” brand for everyone. The best choice depends on whether you want cheap, quick, reusable, long-lasting, professional or design-heavy nails.
Best adhesive gel nails at a glance
| Brand/System | Best For | Approx. Current Price* | Adhesive System |
|---|---|---|---|
| Olive & June | Affordable everyday press-ons | ~$9–$10 | Glue or tabs |
| Glamnetic | Trendy designs + variety | ~$16–$22 | Glue-on/tabs |
| KISS USA | Budget & drugstore convenience | ~$9–$11 | Pre-applied adhesive |
| Static Nails | Premium reusable press-ons | ~$30 | Brush-on glue |
| Dashing Diva | Easy gel-look press-ons | ~$10 | Pressure-sensitive adhesive |
| Gelish | Professional soft-gel system | ~$38–$80 kits | LED-curable gel |
| Aprés Nail | Gel-X/pro-level applications | ~$20–$45 adhesive | Extend Gel |
*Prices change frequently, promotions vary, and some figures above are current examples rather than permanent MSRP.
Best budget option
If you want fashion savings and for a low-cost, no-fuss manicure, KISS imPRESS is hard to ignore. Current KISS listings show sets around $9–$10, with pre-applied adhesive and no separate glue required. KKISS USA+1
Best for trendy designs
Glamnetic is a strong option if your priority is fashion-forward colors, shapes and statement designs. Current listings include many sets around $15.99–$21.99. Gglamnetic+1
Best affordable glue-on system
Olive & June has a huge range of glue-on and tab press-ons, with many current styles priced at $10.
Best professional adhesive gel system
For salon-style soft-gel extensions, look at systems such as Aprés Gel-X or Gelish Soft Gel rather than ordinary drugstore press-ons.
Aprés currently lists Extend Gel from around $19.99 for 15 ml up to $44.99 for some 30 ml formulas. AAprés Nail
Gelish currently lists Soft Gel kits and tips at several price points, including a short-round kit around $49.99 regular price and individual tip options. GGelish
Where to buy adhesive gel nails in the USA
You can usually find them:
- Brand websites
- Ulta
- Target
- Walmart
- Sally Beauty
- CVS/Walgreens
- Amazon
- Local beauty supply stores
- Nail salons and professional beauty distributors
If you’re searching “adhesive gel nails nearby,” Google Maps can help you find local nail salons and beauty-supply stores. For professional systems, call ahead and ask specifically for soft-gel tips, Gel-X-style extensions, and LED/UV-curable tip adhesive rather than simply asking for “press-ons.”
How to Apply Adhesive Gel Nails at Home: Step-by-Step
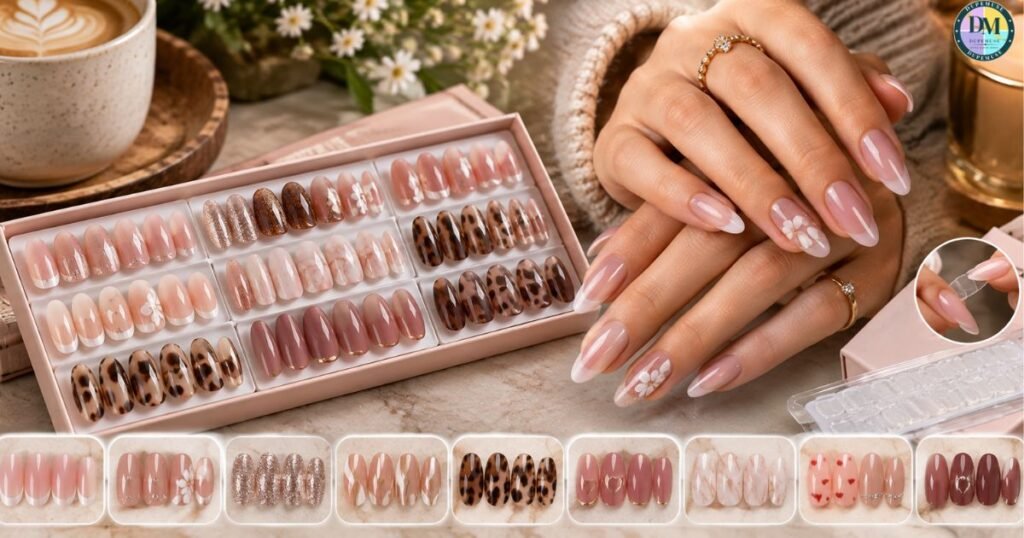
This is where most of the difference between a manicure that lasts two days and one that lasts two weeks happens.
What you’ll need
For regular glue-on press-ons:
- Press-on nail set
- Nail glue
- Nail file
- Buffer
- Cuticle pusher
- Alcohol/prep pad
For a professional soft-gel/UV adhesive system:
- Soft-gel tips
- Compatible gel adhesive
- Compatible LED/UV lamp
- Nail cleanser
- Nail file/buffer
- Dehydrator or prep product
- Primer if required by the system
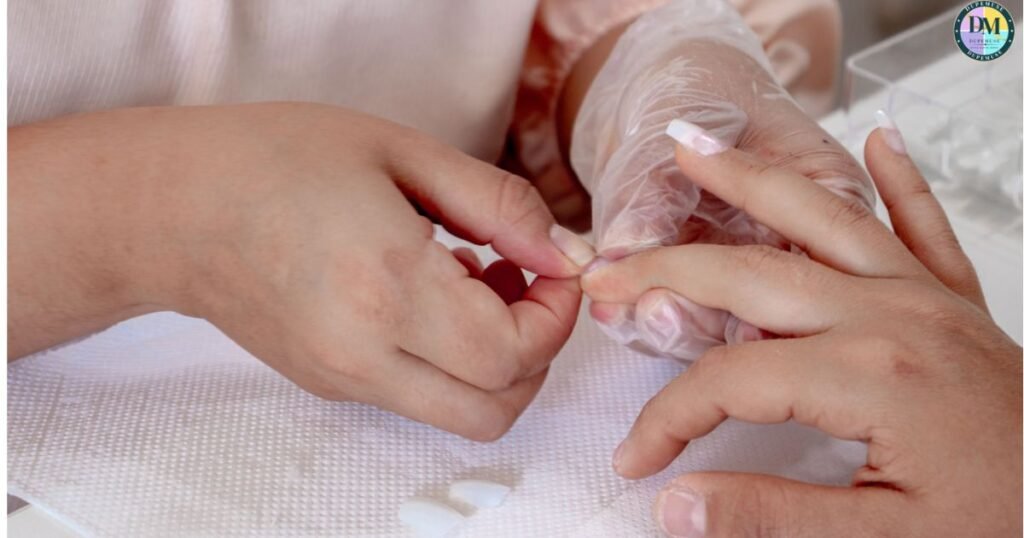
Step 1: Choose the correct nail size
Never force a nail that is too small.
The press-on should cover the natural nail from sidewall to sidewall without sitting on the surrounding skin.
If you’re between sizes, a slightly smaller tip can generally be filed at the sides; a tip that is too narrow can create pressure and lifting.
Step 2: Push back the cuticles
Gently push back the cuticle area rather than aggressively cutting it.
The goal is to remove loose tissue from the nail plate so the adhesive can make clean contact.
Step 3: Lightly buff the nail
Remove surface shine gently.
Do not aggressively file your natural nail.
The objective is better adhesion, not thinning the nail plate.
Step 4: Clean and dehydrate
Remove dust, oil and moisture.
This step is incredibly important because oily or wet nails can cause premature lifting.
Step 5: Apply the adhesive
For traditional nail glue, follow the manufacturer’s directions.
For a professional soft-gel system, apply the manufacturer’s compatible gel adhesive to the contact area of the tip.
Gelish instructs users to apply Soft Gel Tip Adhesive to the underside of the tip and place it using a rolling motion to minimize bubbles. GGelish+1
Step 6: Place the nail from cuticle toward the free edge
Avoid dropping the entire tip onto the nail at once.
Instead, position it near the cuticle and slowly lower it toward the free edge.
This helps push air out and creates a better seal.
Step 7: Flash cure if using UV/LED gel adhesive
Professional systems typically require a brief flash cure while holding the tip in position.
For example, Gelish instructs a 5-second flash cure followed by a longer full cure under its specified LED light. GGelish+1
Always follow the adhesive manufacturer’s curing instructions rather than guessing the lamp time.
The BIG UV gel glue warning
This is one of the most important things many DIY nail tutorials get wrong:
Do not automatically put UV gel glue underneath an opaque, fully decorated press-on.
UV/LED adhesive needs the appropriate light exposure to cure. The tip, adhesive and lamp need to be a compatible system.
If a press-on blocks the curing light, the adhesive underneath may not cure properly.
Some manufacturers make tips specifically designed to work with their curing systems; Gelish, for example, offers specialized soft-gel tips engineered for its LED curing process. GGelish
So when searching for “UV gel glue for press on nails” or “best UV gel glue for press on nails,” don’t just choose the strongest-looking gel.
Choose a manufacturer-compatible tip + adhesive + lamp combination.
5. How Long Do Adhesive Gel Nails Last?
This is probably the question people ask most before buying.
How long do adhesive gel nails last?
The honest answer is:
Anywhere from a few days to 3+ weeks, depending on the adhesive system.
Here’s a realistic breakdown:
| Nail Type | Typical Wear |
|---|---|
| Temporary adhesive tabs | 1–7 days |
| Standard glue press-ons | Around 1–2 weeks |
| High-quality consumer press-ons | Around 1–2 weeks |
| Soft-gel tips + professional gel adhesive | Around 2–3+ weeks |
| Professional Gel-X-style systems | Often 3+ weeks with proper application |
These are ranges, not guarantees.
Dashing Diva’s Magic Press, for example, currently advertises up to 7–10 days depending on the product. SSally Beauty
Olive & June advertises up to 14 days for many glue press-ons. OOlive and June+1
Gelish says its Soft Gel Tip system is designed for 21+ days of wear. GGelish
What makes adhesive gel nails last longer?
1. Proper sizing
A badly fitted nail lifts quickly.
2. Oil-free nails
Natural oils interfere with adhesion.
3. Correct preparation
Prep is just as important as the adhesive.
4. Correct adhesive
Tabs, nail glue and UV gel adhesive are not interchangeable.
5. No air bubbles
Bubbles create weak points where water and debris can get underneath.
6. Proper curing
Under-cured gel is not a shortcut to a longer manicure.
7. Avoiding excessive water immediately after application
Give the adhesive time to establish its bond according to the product instructions.
Pros, Cons & The Mistakes That Make Nails Pop Off
Pros of adhesive gel nails
Affordable: A $10–$20 manicure can look dramatically more expensive.
Fast: Many press-ons take 10–15 minutes to apply.
Huge design selection: French tips, chrome, cat-eye, aura, ombré, 3D charms and seasonal designs are everywhere.
Convenient: No salon appointment is necessary.
Customizable: You can choose length, shape and design.
Professional systems can be durable: Soft-gel systems can deliver weeks of wear when correctly applied. GGelish+1
Cons of adhesive gel nails
- Poor prep can cause early lifting.
- Incorrect removal can damage the natural nail.
- Gel adhesives can cause allergic reactions in susceptible users.
- Long nails can increase mechanical stress.
- Moisture trapped under lifted nails can create an environment where microorganisms can grow.
The Cleveland Clinic notes that press-on nails can carry risks including infection, allergic reactions and nail damage, particularly when moisture becomes trapped or nails are improperly applied/removed. CCleveland Clinic
10 mistakes girls commonly make
1. Applying nails over oily nails
Even a small amount of lotion can hurt adhesion.
2. Choosing the wrong size
Too-small nails create tension; too-large nails can overlap skin.
3. Using too much glue
More glue does not automatically mean more wear.
4. Using too little adhesive
This creates gaps and weak bonding.
5. Leaving air bubbles
A bubble underneath can become a lifting point.
6. Getting gel on the skin
Avoid skin contact with uncured gel products.
FDA guidance emphasizes following nail-product directions and avoiding unnecessary skin exposure to potentially sensitizing ingredients. FFDA
7. Using UV gel under an opaque press-on
This is a major mistake. The adhesive needs appropriate light exposure to cure.
8. Peeling nails off
Never treat your natural nail like a sticker.
9. Cutting the cuticles aggressively
The surrounding tissue helps protect against infection.
10. Wearing lifted nails indefinitely
Once a nail starts lifting, don’t simply glue over the problem and keep going.
If you see redness, swelling, pain, unusual discoloration or other signs of infection, remove the artificial nail safely and seek medical advice when appropriate. CCleveland Clinic
How to Remove Adhesive Gel Nails Without Damaging Natural Nails
Removal is just as important as application.
A beautiful manicure can still damage your nails if you rip it off.
Removing adhesive-tab press-ons
These are generally the easiest.
- Soak fingertips in warm soapy water.
- Add cuticle oil if recommended by the product.
- Allow the adhesive to loosen.
- Gently lift from the side.
- Never force a nail that is still firmly attached.
KISS’s current imPRESS instructions similarly recommend soaking and gently loosening the nail rather than forcing it off. KKISS USA+1
Removing regular glue-on press-ons
Depending on the adhesive, warm water/oil or an appropriate artificial-nail remover may help.
For stubborn glue, acetone can be used according to the product’s instructions.
Removing UV gel adhesive / soft-gel tips
Professional soft-gel systems are generally removed through a soak-off process.
Gelish, for example, instructs users to break down the bulk/seal as directed, soak with artificial nail remover, gently remove softened product and repeat soaking if necessary. GGelish
Never do this
Don’t rip, pry or aggressively scrape the tip off.
If the artificial nail doesn’t release, the adhesive hasn’t softened enough yet.
After removal
Give your nails some TLC:
- Wash your hands.
- Gently remove remaining adhesive.
- Apply cuticle oil.
- Use hand cream.
- Keep nails shorter if they feel weak.
- Avoid immediately stacking another aggressive service on damaged nails.
The American Academy of Dermatology notes that artificial and gel nail services can contribute to brittleness, peeling and cracking, particularly with repeated use, and recommends minimizing unnecessary trauma and allowing nails time without artificial enhancements. AAmerican Academy of Dermatology+1
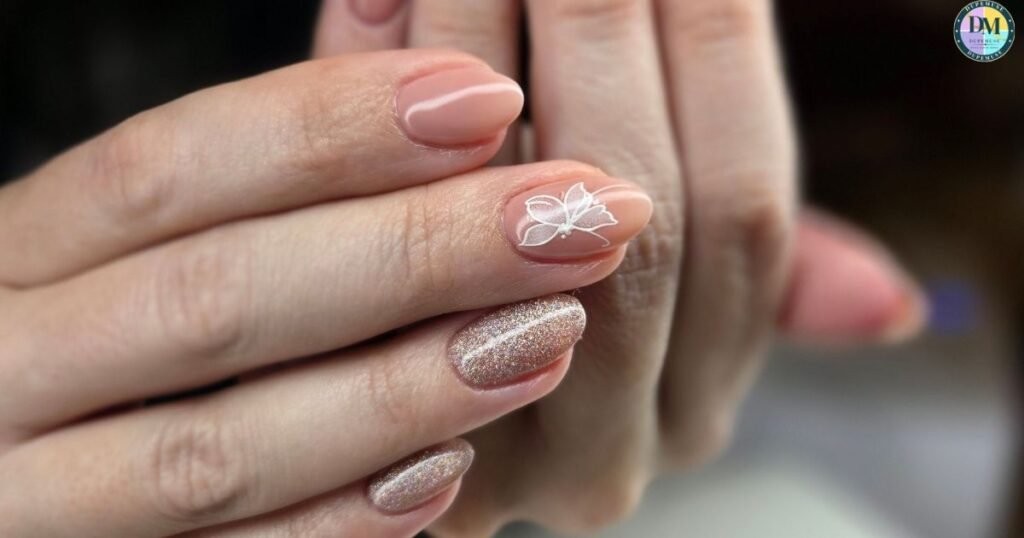
8. Adhesive Gel Nail Designs
If the goal is “salon look without salon prices,” the design is where adhesive gel nails really shine.
Trending adhesive gel nail design ideas
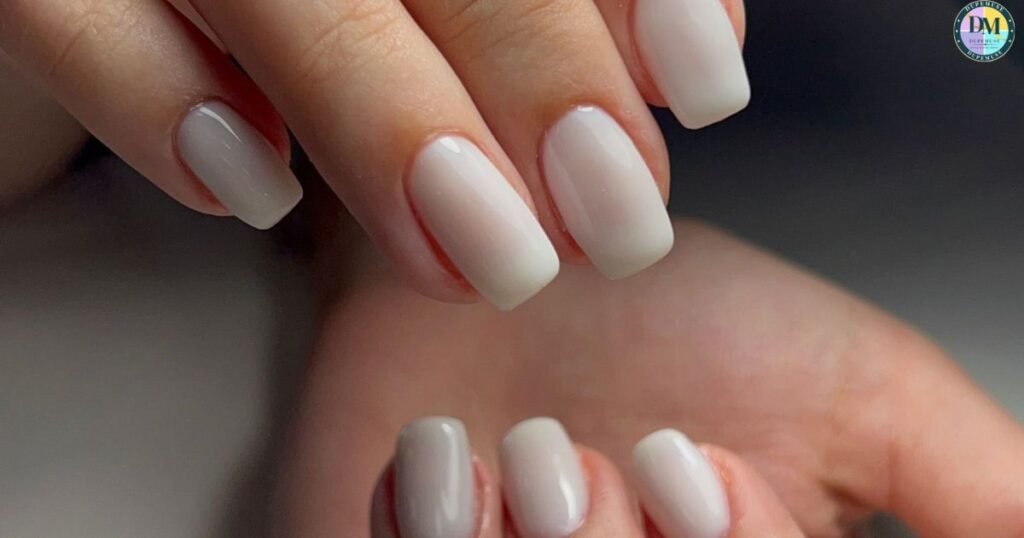
- Milky white chrome
- Glazed donut nails
- Classic French tips
- Micro French
- Pink jelly nails
- Aura nails
- Cat-eye gel effect
- Velvet nails
- Chocolate brown
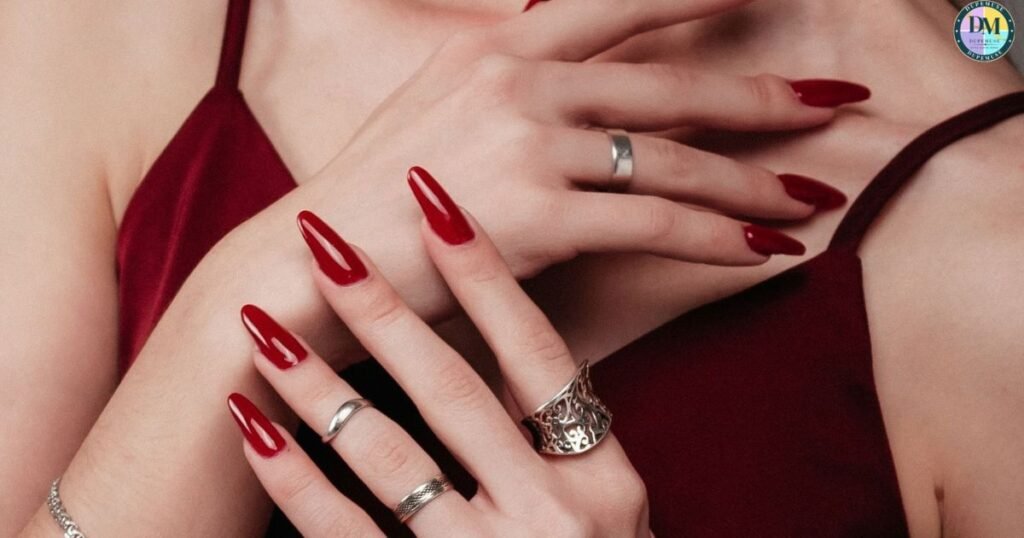
- Cherry red
- Coquette bows
- 3D flowers
- Chrome flames
- Marble nails
- Nude + gold
- Black French tips
- Barbie pink
- Blue-and-white summer nails
- Short squoval minimalist nails
- Long almond statement nails
FAQs About Adhesive Gel Nails
What is adhesive gel for nails?
Adhesive gel is a gel-based nail adhesive used to attach soft-gel or full-cover nail tips to natural nails. It is typically cured under an LED/UV lamp for a strong, long-lasting bond.
How long do gel adhesive nails last?
Gel adhesive nails can typically last 2–3 weeks, depending on nail preparation, adhesive quality, application technique, and daily activities.
Is adhesive gel the same as builder gel?
No. Adhesive gel is designed to bond nail tips, while builder gel is primarily used to build, strengthen, or extend the natural nail and create structure.
Are adhesive nails bad for your nails?
Not necessarily, when applied and removed correctly. However, aggressive filing, peeling them off, or improper use of uncured gel can cause nail damage, irritation, or allergic reactions.
Meta Description
What if you could get glossy saloon-looking nails with adhesive gel nails in minutes without booking an appointment or spending salon prices every few weeks?