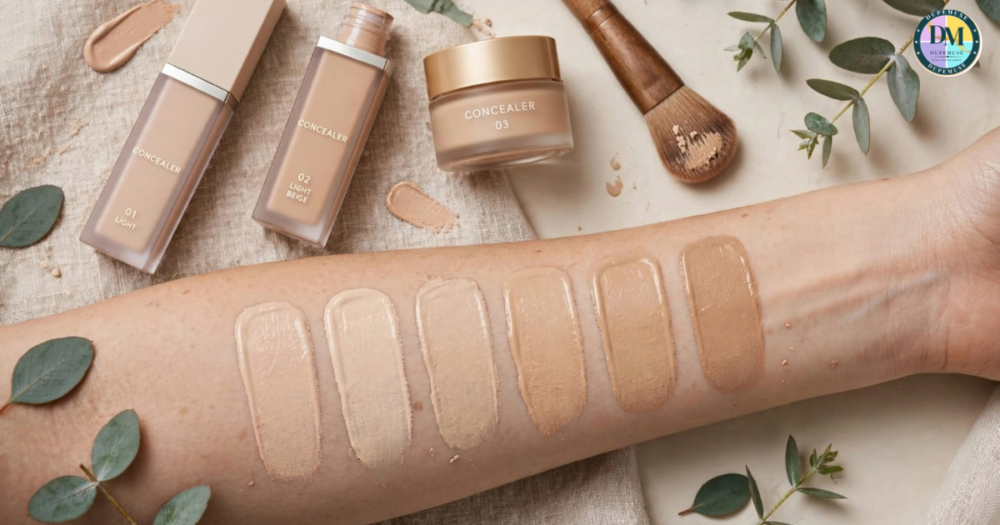
Learning how to apply concealer can instantly make your makeup look smoother, brighter, and more polished. Yet great coverage isn’t about piling on product. It’s about choosing the right shade, using the right formula, and placing concealer exactly where you need it.
Whether you’re hiding Dark circles, covering Blemishes, softening redness, or creating a fresh everyday base, small technique changes can make a noticeable difference. In this guide, you’ll learn how to apply concealer step by step, including skin prep, shade selection, blending, and setting.
You’ll also discover simple ways to avoid cakiness, creasing, and patchiness. By the end, you’ll know how to create a smooth, natural-looking complexion with confidence.
What Is Concealer and What Does It Do?
Concealer is a targeted complexion product made to add concealer coverage where you need it most. Unlike Foundation, which usually covers a larger area, concealer lets you work with precision. You can brighten the under-eye area, cover blemishes, soften Redness, and create a more even complexion.
The best result comes from using less product with better placement. A liquid concealer can offer flexible coverage, while a cream concealer or concealer stick may provide more control. Depending on the formula, you can get medium coverage, full coverage, or buildable coverage with either a natural finish, matte finish, dewy finish, or skin-like finish.
How to Choose the Right Concealer for Your Skin
Choosing the right product makes application much easier. Before you worry about technique, consider your Skin tone, Skin undertone, skin type, and the area you want to cover. A concealer for a pimple doesn’t always need the same shade or texture as one used beneath your eyes.
Think about the final result too. A hydrating formula may suit Dry skin, while a lighter, longer-wearing formula may feel better on Oily skin. Combination skin can need different approaches across the face. If you have Sensitive skin, keep the routine simple and avoid unnecessary layers around delicate areas.
Choose the Right Concealer Shade
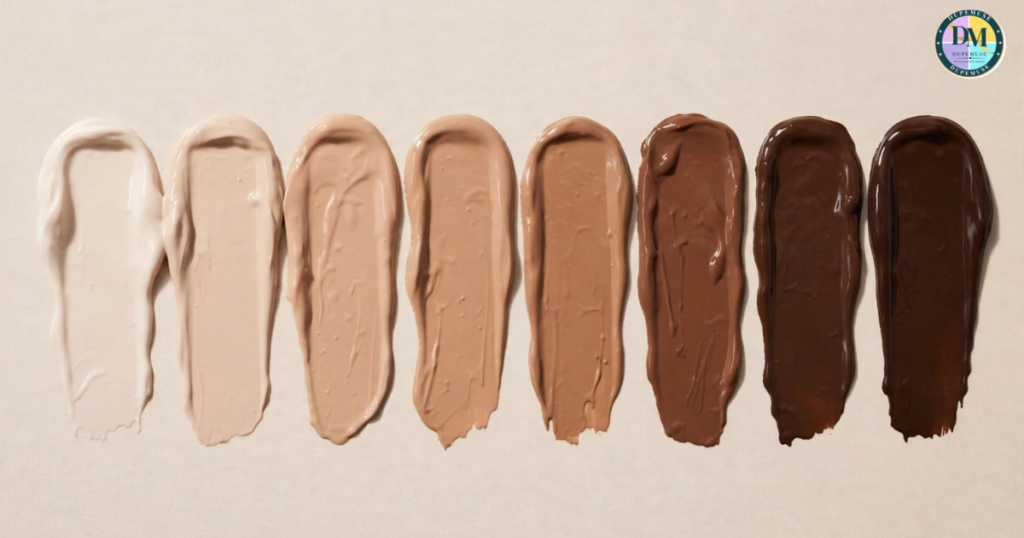
The right shade depends on the job. For blemishes, choose a shade that closely matches your Skin tone. For under-eyes, a slightly brighter shade can create a fresh brightening effect, but going too pale can make the area look gray or obvious.
Your Skin undertone also matters. Warm, cool, neutral, and olive undertones can change how a concealer appears after blending. If possible, test shades in natural daylight. The goal isn’t to make the concealer visible. It should disappear into the surrounding skin.
Choose the Right Concealer Formula
Formula affects both coverage and texture. A liquid formula usually spreads easily and works well for the under-eye area. A cream concealer can offer richer coverage. A concealer stick can provide precise application when you need targeted coverage on small areas.
For a natural everyday look, choose a flexible formula that doesn’t feel heavy. For events or Full-glam makeup, you may prefer full coverage with stronger staying power. The best concealer formula is the one that suits the area, your skin, and the finish you want.
Choose Based on Your Skin Type
Your skin type can change how concealer wears. With Dry skin, focus on hydration and flexible formulas that won’t emphasize texture. With Oily skin, lightweight formulas can help reduce slipping. Combination skin may need lighter application around oily areas.
If you have Sensitive skin, keep skin prep gentle and avoid excessive rubbing. Mature skin may benefit from thin layers because heavy product can settle into Fine lines. Your goal should always be comfortable coverage rather than simply maximum coverage.
 |
Should You Apply Concealer Before or After Foundation?
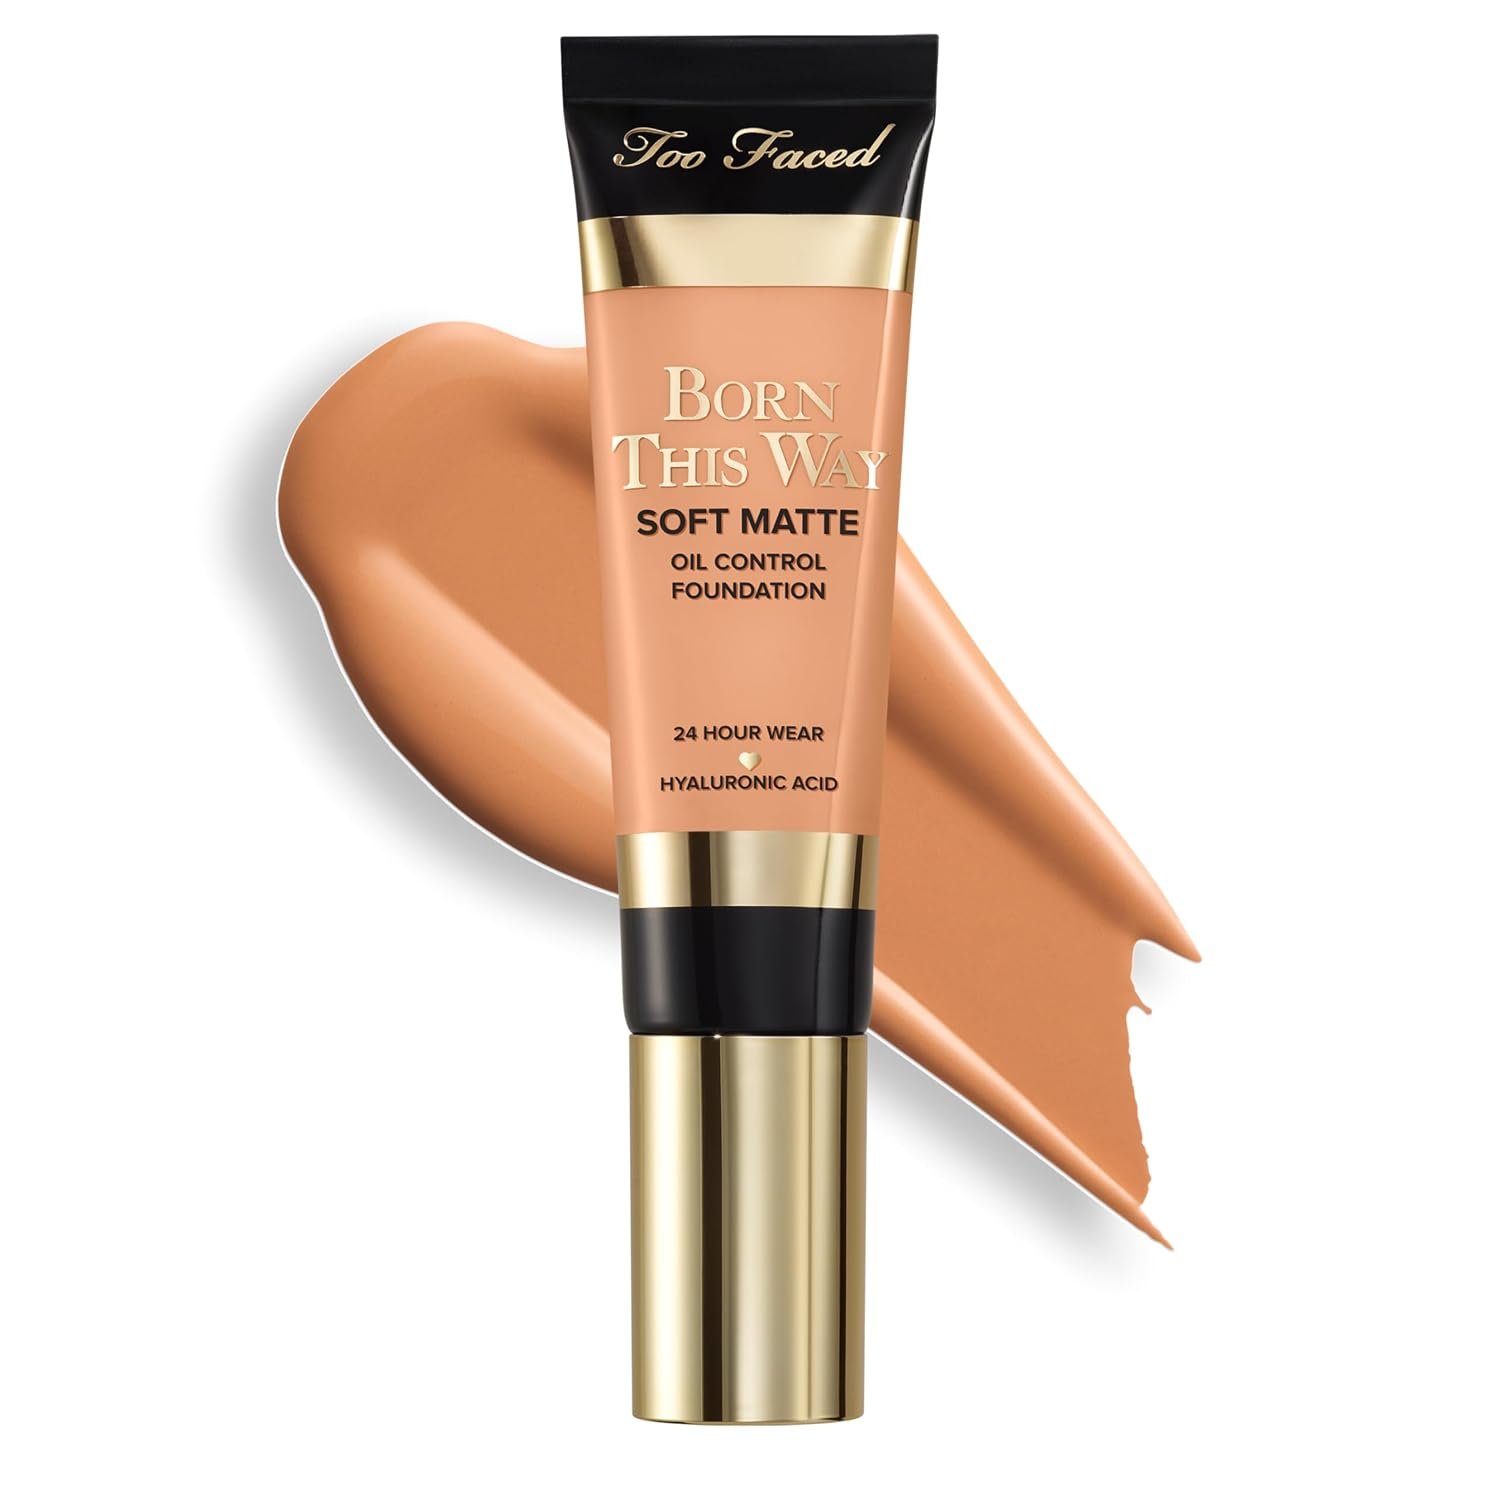
For most everyday makeup, apply Foundation first and concealer afterward. Foundation can already reduce the appearance of minor discoloration. That means you can see exactly where you still need coverage instead of applying too much product from the start.
However, there isn’t one rule for every routine. If you’re using a strong Color corrector, you may apply it before foundation and concealer. If you’re skipping foundation, you can use concealer alone for targeted coverage. Your desired finish matters more than following a rigid order.
Concealer before foundation vs. after foundation
The concealer before or after foundation question depends on your technique. Applying foundation first usually works well because it creates an even makeup base. You can then use concealer only where imperfections remain, which often creates a lighter, more natural result.
Applying concealer first can also work for certain correction techniques. However, foundation may soften or move that coverage afterward. For everyday makeup, foundation followed by targeted concealer offers simple control. For minimal routines, concealer alone can work beautifully.
| Makeup goal | Useful order | Main reason |
|---|---|---|
| Everyday coverage | Foundation → Concealer | Reduces unnecessary product |
| Strong discoloration | Corrector → Foundation → Concealer | Builds controlled correction |
| Minimal makeup | Concealer only | Keeps skin visible |
| Full-glam makeup | Foundation → Corrector → Concealer | Builds layered coverage |
How to Apply Concealer Step by Step
The easiest way to get a polished result is to follow a consistent sequence. Start with clean, hydrated skin. Then create your base, correct strong discoloration, place concealer where needed, blend the edges, and set only the areas that require extra staying power.
This process helps you avoid one common mistake: applying too much product before you know how much coverage you actually need. If you’re wondering How do you apply concealer correctly?, think precision first and product second. A small amount can go surprisingly far.
Step 1: Prep Your Skin
Good skin prep gives concealer a smoother surface. First, cleanse your skin and apply moisturizer. If your under-eyes feel dry, a suitable eye cream can help. Let skincare settle before moving forward.
Next, apply a makeup primer if you use one. A gripping primer can help makeup stay in place. The aim is hydrated skin with a smooth base, not a thick stack of skincare products.
Step 2: Apply Foundation
Apply your Foundation in a thin, even layer. You don’t need to completely hide every mark at this stage. Instead, allow the base to even out your complexion while leaving stronger areas for targeted concealing.
This step can dramatically reduce how much concealer you need. Once foundation settles, look closely at your skin. The remaining imperfections now tell you exactly where extra coverage belongs.
Step 3: Apply Color Corrector When Needed
A Color corrector helps neutralize discoloration before you apply skin-tone concealer. A peach corrector or orange corrector can help with certain blue, purple, or deeper discoloration. A green corrector can help visually balance Redness.
A yellow corrector may help with some purple or dull-looking areas. Use a very thin layer. The goal isn’t to cover the skin with bright color. Instead, correct the unwanted tone so your concealer doesn’t need excessive thickness.
Step 4: Apply Concealer Strategically
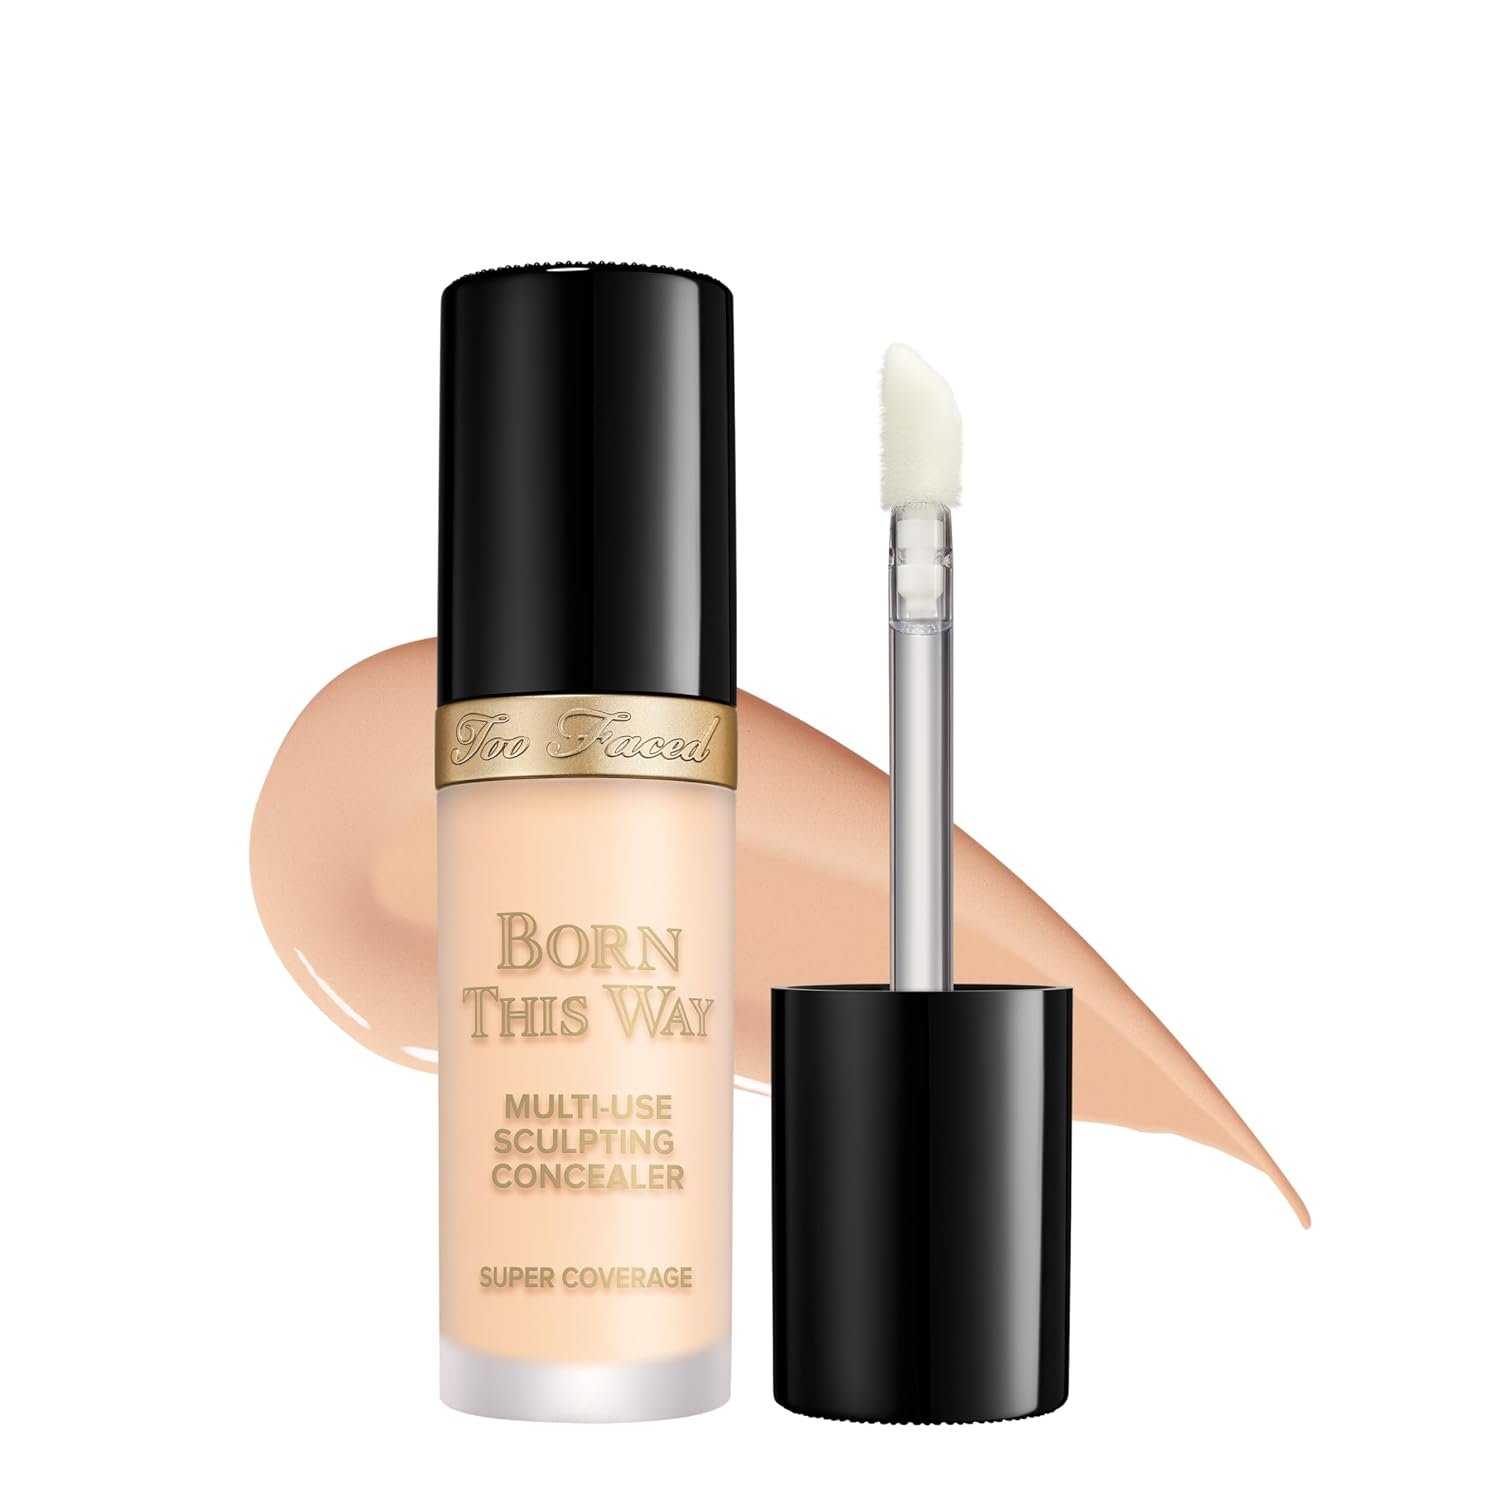
Now comes the heart of the process. Place a small amount of concealer exactly where coverage is needed. Use dots beneath the eyes, around the nose, over Blemishes, or on areas of Hyperpigmentation instead of covering your entire face.
This strategic application creates better control. For targeted coverage, use a small applicator or brush. If you’re asking Where exactly do you put concealer?, focus on discoloration rather than simply following a fixed shape across the face.
Step 5: Blend Without Removing the Coverage
Blending doesn’t mean spreading the product everywhere. Start around the edges and gently tap concealer into the skin. Keep the center of a blemish or dark spot more concentrated so you don’t erase the coverage you just created.
Use short tapping motions rather than aggressive swipes. If you need more coverage, let the first layer settle and then build coverage slowly. This creates a more seamless finish without making the base look thick.
 |
How to Apply Concealer Under Your Eyes and Cover Dark Circles
Under-eyes need a lighter touch because the skin moves constantly. Heavy layers can collect around Fine lines, emphasize under-eye bags, and create cakey under-eyes. Instead, work with the natural shape of your eye and apply product only where darkness appears.
If you’re wondering How do you apply concealer under your eyes?, begin with well-prepped skin. Then use a small amount of under-eye concealer around the darkest areas. Blend outward while keeping enough product near the areas that actually need correction.
Where to Put Under-Eye Concealer
The best concealer placement depends on your natural eye structure. Common areas include the inner corner, the darkest part of the tear trough, and selected portions beneath the eye. You don’t always need to cover the entire under-eye area.
Look closely before applying. If darkness sits mostly near the inner corner, concentrate there. If the under-eye area has broader discoloration, extend the product gradually. This approach avoids unnecessary layers and keeps the finish more believable.
How to Cover Dark Circles With Concealer
To understand how to cover dark circles with concealer, first identify their tone. Some appear blue or purple, while others look brown, gray, or deeper than the surrounding skin. Color correction can help when discoloration strongly affects the final shade.
After correction, use a suitable concealer that matches the surrounding complexion or provides controlled brightness. Don’t automatically choose the lightest shade available. A very pale product can make Dark circles look gray instead of concealed.
How to Prevent Cakey or Creasy Under-Eyes
If your concealer settles into creasing, start by reducing the amount. Too much product has nowhere to go except into movement lines. Apply a thin layer, blend it carefully, and remove excess before setting.
If you’re wondering How do you stop concealer from creasing?, hydration, placement, formula, and powder all matter. Allow the product to settle, gently tap away excess, then lightly set concealer only where necessary.
Concealer for Mature or Dry Under-Eyes
Mature and dry under-eyes often need flexibility rather than heavy coverage. A hydrating formula can sit more comfortably over texture. Apply a thin layer and keep powder minimal because too much powder can make Fine lines more noticeable.
Some movement is normal. The goal isn’t to freeze the eye area. Instead, aim to reduce visible creasing while keeping the skin comfortable and natural. A lightweight brightening concealer can add freshness without creating a thick mask.
How to Apply Concealer to Acne, Pimples, Blemishes and Dark Spots
Blemish coverage works best when you stop treating the entire face as one surface. Acne, pimples, scars, and dark spots may need concentrated product. The surrounding skin usually needs far less.
For blemish coverage, choose a close skin match and use precise placement. When you ask How do you apply concealer to acne?, the answer starts with restraint. Cover the mark itself, soften the edges, and avoid creating a large ring of makeup around it.
How to Cover a Pimple With Concealer
Start with clean, settled skincare. Place a tiny amount directly over the pimple. Use a Concealer brush or fingertip to tap around the edges without dragging the center away.
Let the product remain concentrated where the spot needs coverage. If the first layer isn’t enough, build coverage gradually. This technique works better than repeatedly rubbing because friction can move product away from the exact area you want to hide.
How to Cover Redness
For strong Redness, a Color corrector can reduce the amount of concealer needed. A small amount of green corrector may help visually balance red areas. Follow with a skin-matching concealer once the corrector is blended.
The key is moderation. Too much green can create another color problem. Apply the thinnest layer that helps correct redness, then use concealer to bring the area back toward an even complexion.
How to Conceal Dark Spots and Hyperpigmentation
Dark spots and Hyperpigmentation can require stronger correction than mild discoloration. First, choose a concealer that matches the surrounding Skin tone. Then apply it directly over the darker area rather than spreading a thick layer across nearby skin.
For deeper discoloration, a color correcting concealer may help before your regular concealer. Build coverage slowly. The final result should look like your natural skin tone, not like a pale patch placed over it.
Spot Concealing Technique
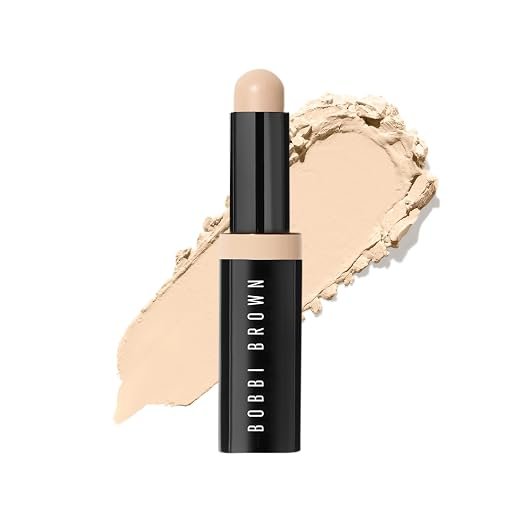
Spot concealing is one of the easiest ways to create natural coverage. Apply a small dot directly over the mark, then gently dab concealer around its perimeter. Keep the center concentrated so you don’t remove the coverage.
This technique works especially well for Blemishes, acne scars, redness, and isolated dark spots. It also supports a lighter makeup routine because most of your skin remains uncovered.
 |
How to Blend Concealer for a Natural, Flawless Finish
Learning how to blend concealer is about controlling movement. You don’t want to spread every bit of coverage across the face. Instead, diffuse the edges while leaving the center where it needs to stay.
Different tools create different results. A Makeup sponge can soften coverage, while a Concealer brush provides precision. Fingertips add warmth and can work well for quick application. Your tool should match both the area and the finish you want.
Best Concealer Application Tools
The best concealer application tools depend on your goal. A small Concealer brush gives precise coverage around pimples and small marks. A beauty sponge or damp makeup sponge can create a softer, diffused finish.
Fingertips can work well beneath the eyes because warmth helps the formula melt into the skin. A blending brush is useful around larger areas. Later, a powder puff can press setting powder into areas that need extra hold.
How to Blend Concealer Without Removing It
If you’re wondering How do you blend concealer without removing it?, stop thinking about blending as spreading. Instead, use tapping motions around the outside of the coverage. Keep your tool light and avoid repeatedly touching the same spot.
For under-eyes, tap from the outside toward the center. For blemishes, keep the center intact and soften only the perimeter. This method preserves targeted coverage while creating a smooth transition into your makeup base.
How Much Concealer Should You Use?
If you’re asking How much concealer should you use?, begin with less than you think you need. A few small dots can often cover more than a large swipe. Start with a thin layer, assess the result, and add another layer only if necessary.
This method gives you control over concealer coverage. It also reduces the chance of creasing, patchiness, and texture. Remember that buildable coverage works best when you build gradually rather than starting with a heavy layer.
How to Set Concealer and Prevent Creasing
Setting concealer helps improve wear, but more powder doesn’t automatically mean better results. First, check for creases and gently tap the area smooth. Then use a small amount of Setting powder where movement or oil tends to break down makeup.
A translucent powder or loose powder can work well for many looks. Press it gently with a powder puff instead of sweeping aggressively. Baking can create a stronger set, but it may look dry around delicate areas. Finish with Setting spray when you want longer-lasting makeup.
Concealer Techniques for Different Makeup Looks
The same product can create very different results depending on placement. For Natural makeup, keep coverage focused. For Full-glam makeup, you can layer products more deliberately. For everyday wear, thin layers usually create the most convincing skin texture.
Your desired finish should guide every decision. More product isn’t automatically more polished. In many cases, controlled placement creates a cleaner result than full-face coverage, especially when you want your complexion to retain natural dimension.
For a Natural, No-Makeup Makeup Look
For No-makeup makeup, skip unnecessary coverage. Apply concealer only to areas that genuinely need it, such as a small blemish, redness near the nose, or selected under-eye darkness.
Choose a close Skin tone match and keep powder light. The aim is not perfect blank skin. Instead, create an even complexion while allowing some real texture and natural variation to remain visible.
For Bright, Awake-Looking Under-Eyes
For a fresh brightening effect, focus product near the inner corner and darker parts of the tear trough. A slightly brighter shade can lift the appearance of the area without creating an obvious contrast.
Blend the edges carefully and keep the layer thin. If the under-eye already looks smooth, don’t add more product simply because you can. Precision creates brightness more effectively than excess.
For Full-Coverage Glam
For Full-glam makeup, start with proper correction and use formulas with stronger concealer coverage. Apply thin layers rather than one thick coat. A Concealer brush can give you greater control around detailed areas.
Allow each layer to settle before adding more. Once the coverage looks even, set strategically. This creates full coverage while helping the complexion retain shape and dimension.
For a Soft, Skin-Like Finish
A skin-like finish needs restraint. Choose flexible formulas, use thin layers, and blend only the edges. A damp makeup sponge can soften the appearance of heavier formulas without completely removing the coverage.
Keep powder focused on areas that truly need it. The final result should look smooth from normal viewing distance while still showing some natural skin texture up close.
Common Concealer Mistakes and How to Fix Them
Most concealer problems don’t come from a lack of product. They usually come from using the wrong amount, shade, formula, or technique. Once you identify the cause, the solution becomes much simpler.
Before adding more makeup, pause and inspect the area. Too much correction can create a bigger problem than the original imperfection. A small adjustment often works better than starting over.
Concealer Looks Cakey
Why does my concealer look cakey? Usually, excess product, dry skin, heavy powder, or an unsuitable formula causes this effect. Start by removing excess with a clean sponge or fingertip.
Next time, improve your skin prep and use thinner layers. Keep powder minimal around dry areas. A natural finish usually looks better when you allow the skin to retain some flexibility.
Concealer Creases Under the Eyes
Creasing can happen because the eye area naturally moves. However, excess product makes those lines much more noticeable. Apply less, blend carefully, and remove excess before setting.
If you want to know how to prevent concealer from creasing, focus on flexible formulas, controlled placement, and strategic powder. Don’t try to lock every millimeter of skin in place.
Concealer Looks Too Light
If your concealer looks too pale, the shade may be too bright or have the wrong undertone. This is especially noticeable around blemishes because a lighter patch can draw attention to the area.
For spot coverage, choose a shade closer to the surrounding Skin tone. Reserve brighter shades for controlled Highlighting, especially beneath the eyes or on selected high points.
Concealer Looks Patchy
Patchiness often starts before the concealer reaches the skin. Uneven Primer, excess skincare, dry patches, or incompatible formulas can make the product separate.
Give your skincare time to settle and create a smooth makeup base. Then apply smaller amounts and tap rather than rub. If the formula keeps separating, consider whether your base products work well together.
Concealer Doesn’t Cover Acne
If your concealer doesn’t cover Acne, check the shade before adding more product. A shade that’s too light can make the spot more noticeable. Over-blending can also remove the coverage you just placed.
Use a matching shade and precise spot concealing. Apply one thin layer, let it settle, and add another only when necessary. This keeps the surrounding skin cleaner.
Concealer Separates or Fades
If your concealer disappears during the day, oil, heat, humidity, skincare, and facial movement can all play a role. A waterproof concealer or longer-wearing formula may help when you need stronger durability.
Use an appropriate makeup primer, apply controlled layers, and lightly set concealer where needed. A suitable Setting spray can help bring the finished layers together and support longer-lasting makeup.
FAQs About Apply Concealer
The best technique is the one that solves your specific concern without adding unnecessary product. These quick answers cover the questions that commonly come up when building a smoother complexion.
What is the correct way to apply concealer?
Start with moisturized, prepped skin, then apply a small amount of concealer only where you need coverage. Dab and blend the edges gently, then build thin layers instead of applying too much at once.
Are you supposed to put concealer on before or after foundation?
In most makeup routines, apply Foundation first and concealer afterward. This lets you see which areas still need coverage and helps prevent unnecessary product buildup.
How to apply concealer for older skin?
Use a lightweight, hydrating formula and apply a thin layer over well-moisturized skin. Focus coverage where needed and use minimal powder to avoid emphasizing Fine lines.
Are you supposed to put concealer all over your face?
No, you usually don’t need concealer all over your face. Apply it selectively to Dark circles, blemishes, redness, or discoloration where extra coverage is needed.
For More Guide
If you also prefer video guide you can watch these informational videos :
How To Apply Concealer For BEGINNERS
(1487) How To Apply Concealer OVER 40 – YouTube
How To Apply Foundation And Concealer For Beginners
If you want to get guide for foundation application you can check this article :
How to Apply Foundation: Brush, Fingers or Sponge? – DupeMuse
Meta description
Learn how to apply concealer for smooth, natural coverage. Discover easy tips for dark circles, blemishes, blending, and a flawless base.